The Best All Grain Brewing Kit - Is It The RoboBrew V3 System?
Filed under: kitchen
There’s nothing more satisfying that pulling a beer from your very own home-brew setup. The look of bewilderment across friends’ faces, the look of sheer terror across my partner’s face as they realise the intoxicating deliciousness of the golden liquid. Hell, even my home-brew beer has converted non-beer drinkers and even those who refuse to drink alcohol altogether to engage the the art of imbibing the delicious malty beverage. If you’re looking at getting more involved in the brewing process it’s worth considering what the best all grain brewing kit is before you make a purchase. For me it’s the RoboBrew V3.
Firstly, let’s dig a bit deeper into this process and unravel a few mysteries, because before I started I heard all these terms like mash, sparge and lauter, and had absolutely no idea what they meant.
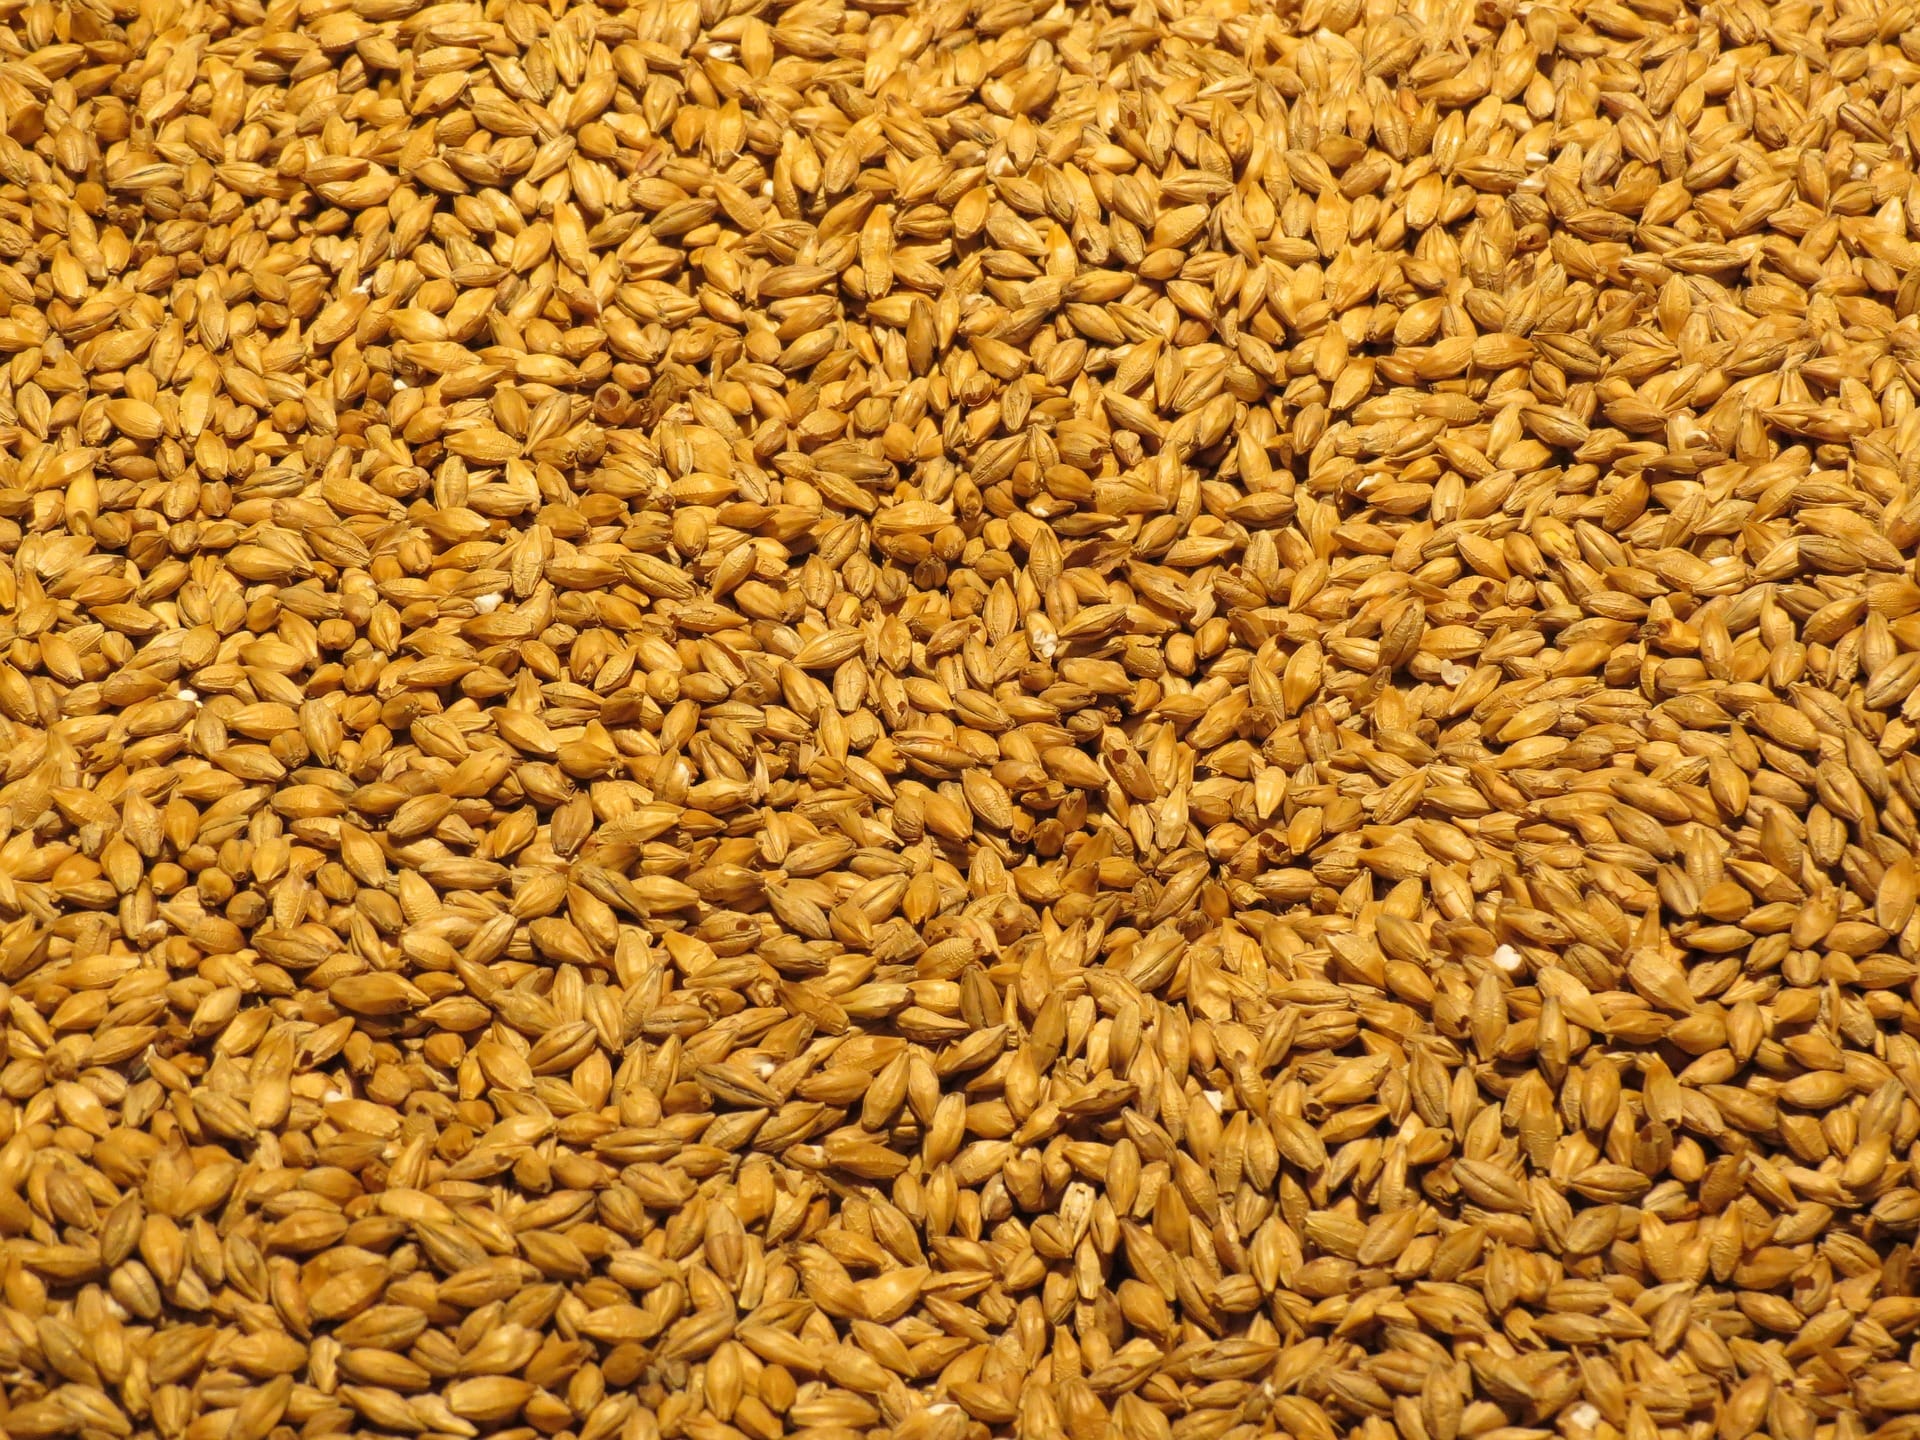
All grain brewing is the method of obtaining wort from steeping cracked grains in a heated liquid immersion and then discarding the grains. You might have seen the sticky liquid molasses type stuff you can buy in those large aluminium cans? Where you just add water and yeast, and then you have a batch of beer brewing. Well essentially with all grain brewing you are extracting that sugary syrup from the malt grains before adding yeast. That is the key difference between extract brewing and all grain brewing.
But boy is it a big difference in terms of price, procedure and time.
What does an all grain brewing process look like?
I recently documented a brew I put on from start to finish so I’ll share with you the process that I’ve followed to brew a James Squire 150 Lashes Clone.
It essentially looks like this:
- Sterilize all the equipment
- Stepped mashing of malted grains
- Remove and sparge malted grains
- Boil and add any hops
- Cool
- Add yeast and brew
After thoroughly cleaning and sterilizing the equipment, it’s time to put together my RoboBrew V3.
How To Put Together The RoboBrew V3
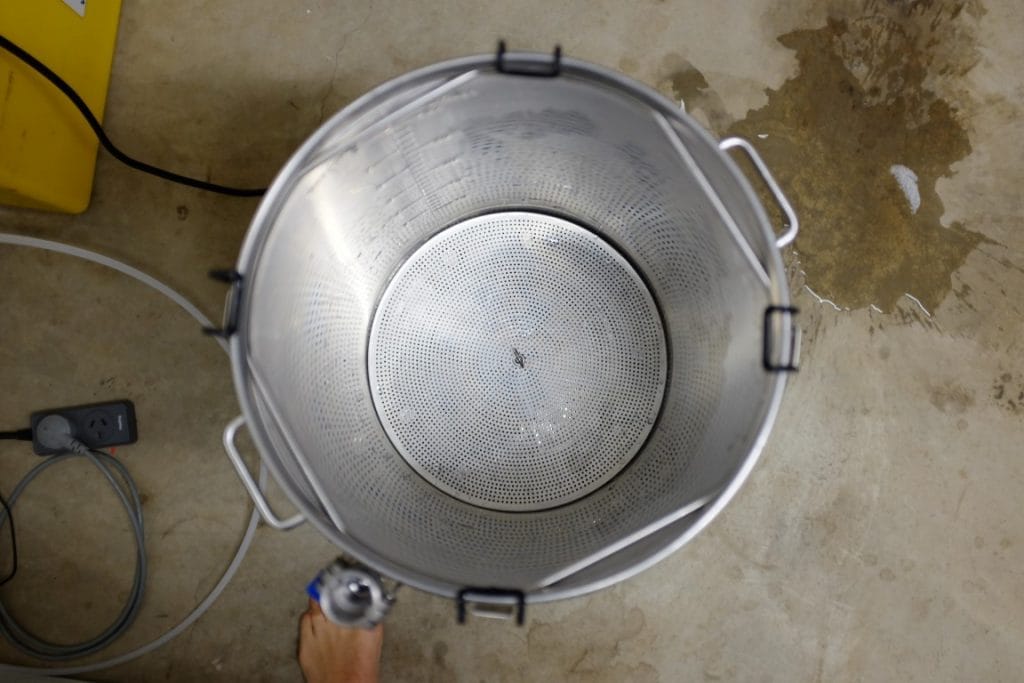
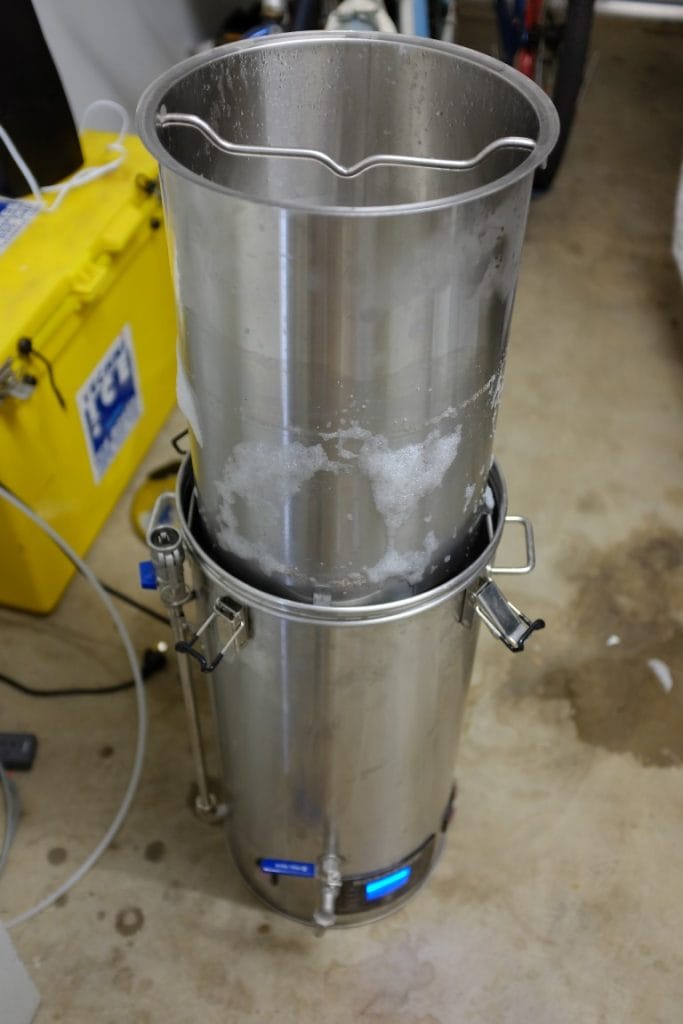
This is what the RoboBrew V3 looks like empty:
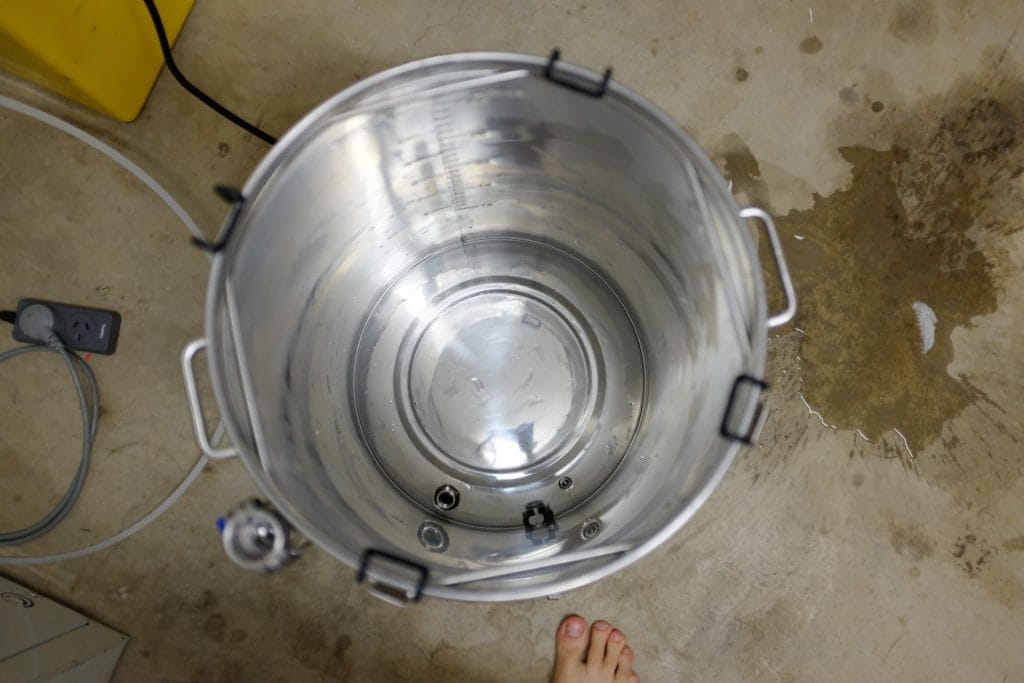
You can see in the base the inlet to the pump on the left there and on the right the outlet where you would drain out your wort into the fermenting vessel.
First step is to install the false floor. The false floor can be identified by having a little ring that is barely large enough to fit over your finger.
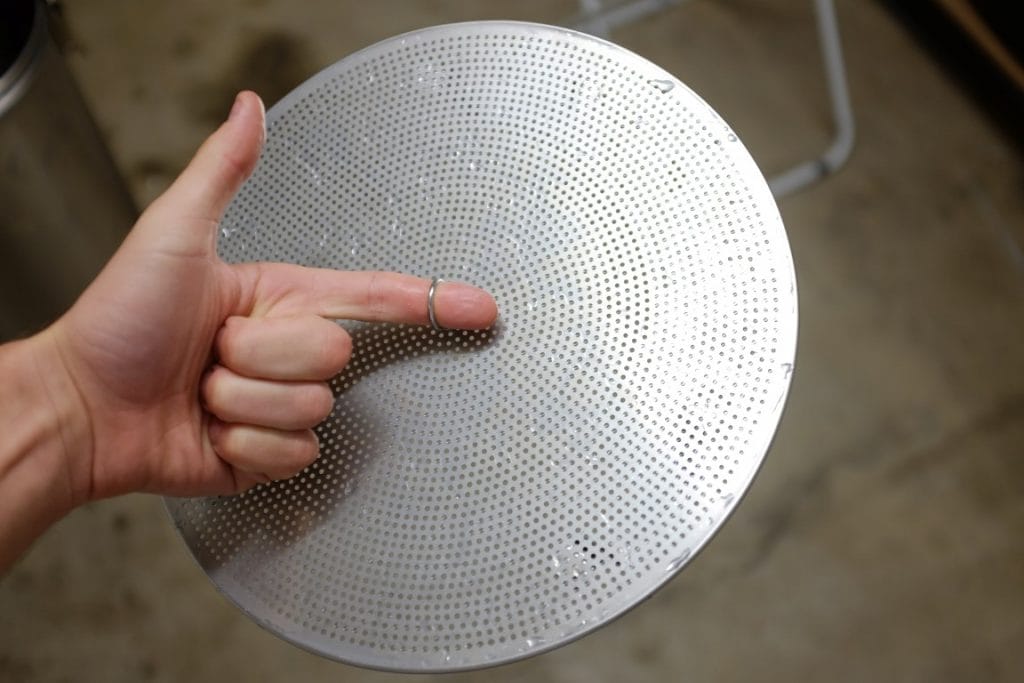
This slides right down to the bottom of the brewing system. It’s actually a very useful component and is one of the features that makes the RoboBrew one of the best all grain brewing kits, because it acts as like a last shield of defence to prevent any solid particles making their way down into the pump and damaging the system. It also makes cleaning up a breeze.
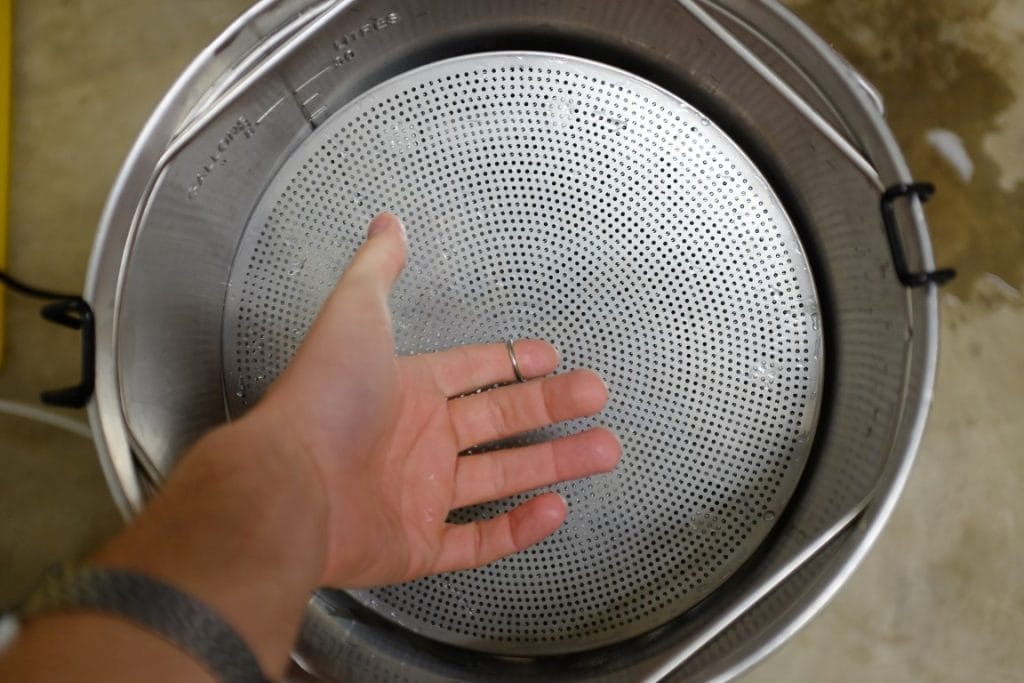
It should slide down the RoboBrew easily and sit on the bottom:
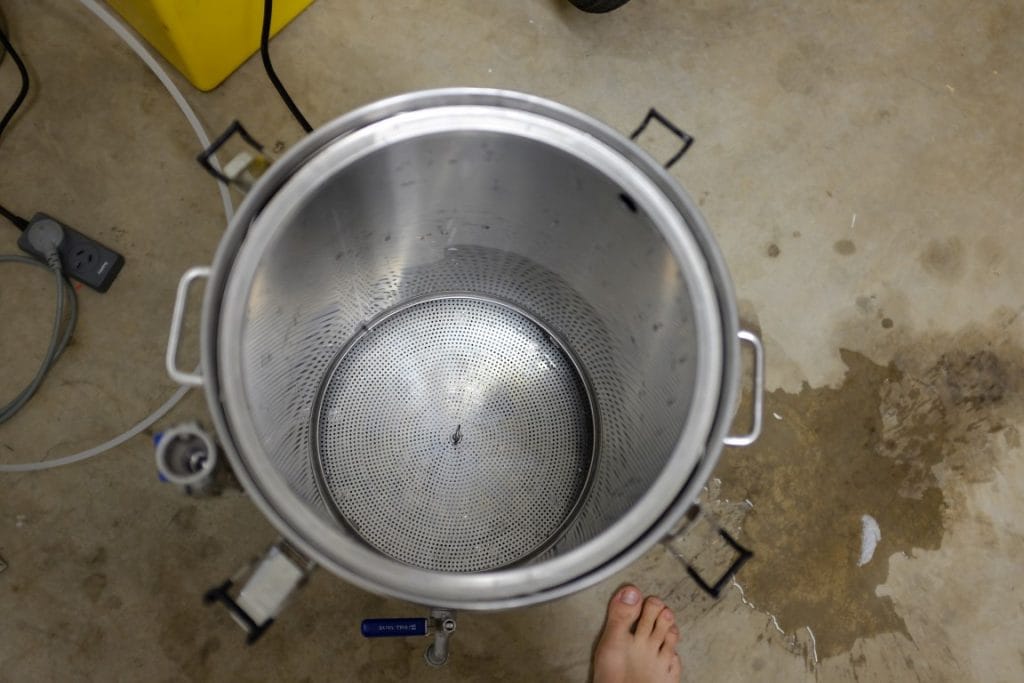
Now the next step is to add the mash pipe. This is the other large cylindrical section that comes with the RoboBrew. It hangs off the four bars that you can see in the photo above. Take a close look between the above and below photos and you should notice the difference between the two images. This section is what houses your grain and allows you to remove it all before the boil.
Now the next step is to put together the two other mesh disks that come in the system. One of them will have a small threaded section in the centre, you need to screw in the overflow tube and then place on top the fine mesh section as such:
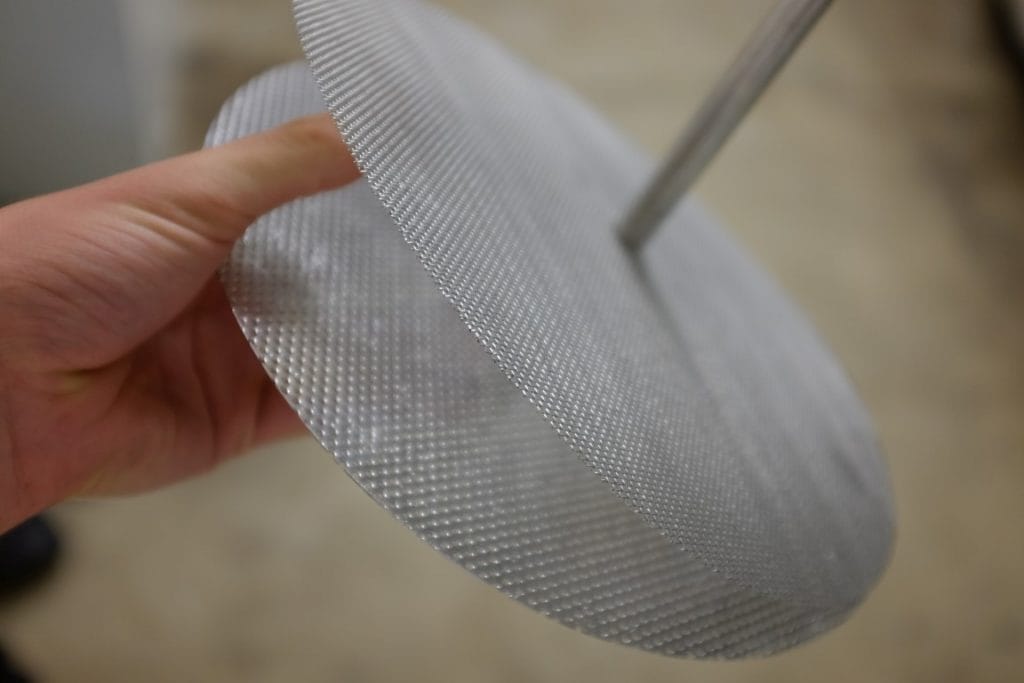
This is what your grain will sit on top of. The next step is to connect the other half of the overflow pipe onto the one that is screwed on to the base mesh section, like such:
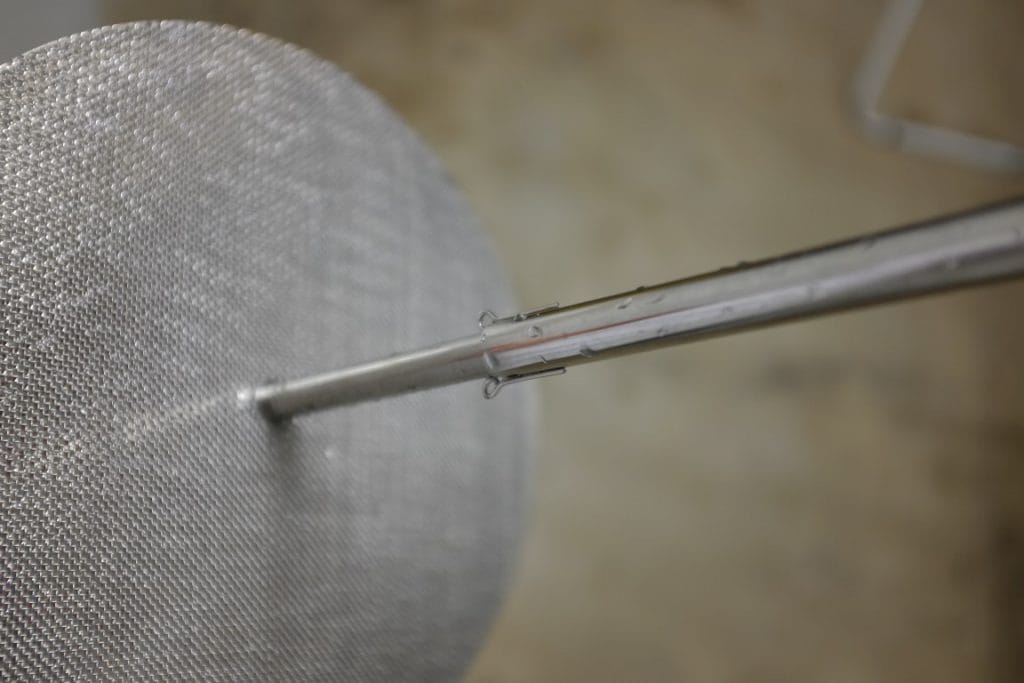
I don’t know what those small little circular pieces are for that are attached either side of the pipe. So far I haven’t found any utility in them. If anyone knows what they are meant to do or what purpose they serve please reach out to me and let me know!
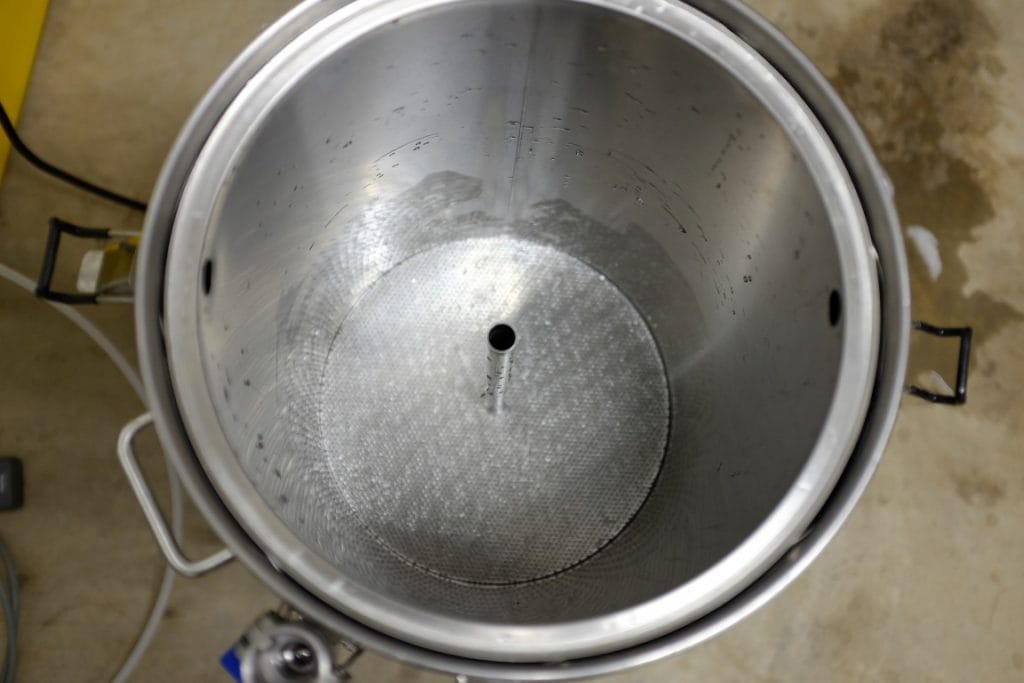
This section slides down to the base of the mash pipe and should sit there firmly:
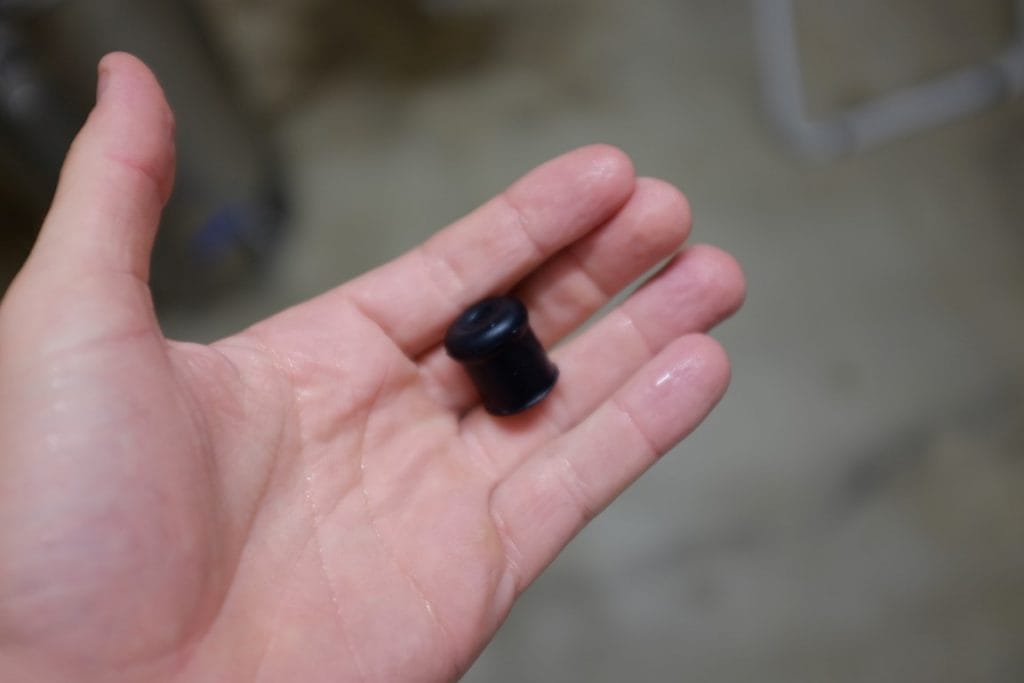
The last little bit to add is the small black rubber cover that fits snug over the overflow pipe. This is to prevent any grain from making its way down to the base of the system and ultimately into your pump. Again, another feature the guys at RoboBrew have thought of that could makes this one of the best all grain brewing kits.
Now, I’ve kind of jumped ahead of myself here. But if you are putting a brew on, you will want to remove the malt pipe to first add and measure out your water. This is because the RoboBrew V3 has the litres of volume marked on the side of the system. Once you have achieved the correct volume of water in the system then you can place the malt pipe back in and hit the switch on the two heating elements at the base.
I use the system in manual. To adjust the temperature you just press pause, or if it is already paused press the temperature button and then + / - until you achieve the desired setting and press the play button.
A quick shot of my brewing ingredients!

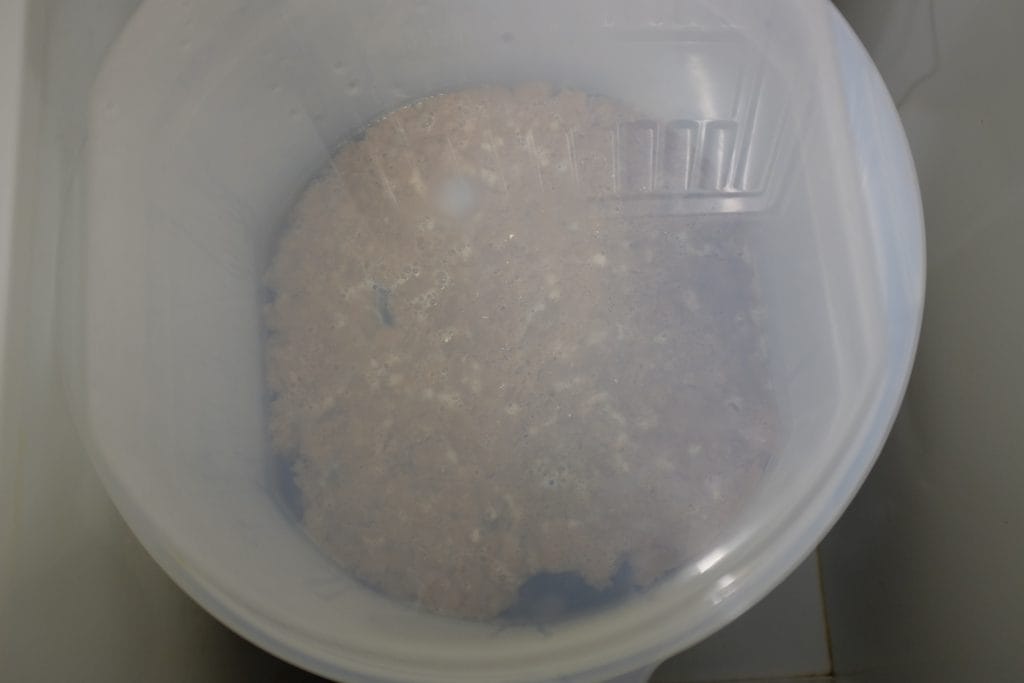
Once your mash water has reached the desired temperature you can add the grains:
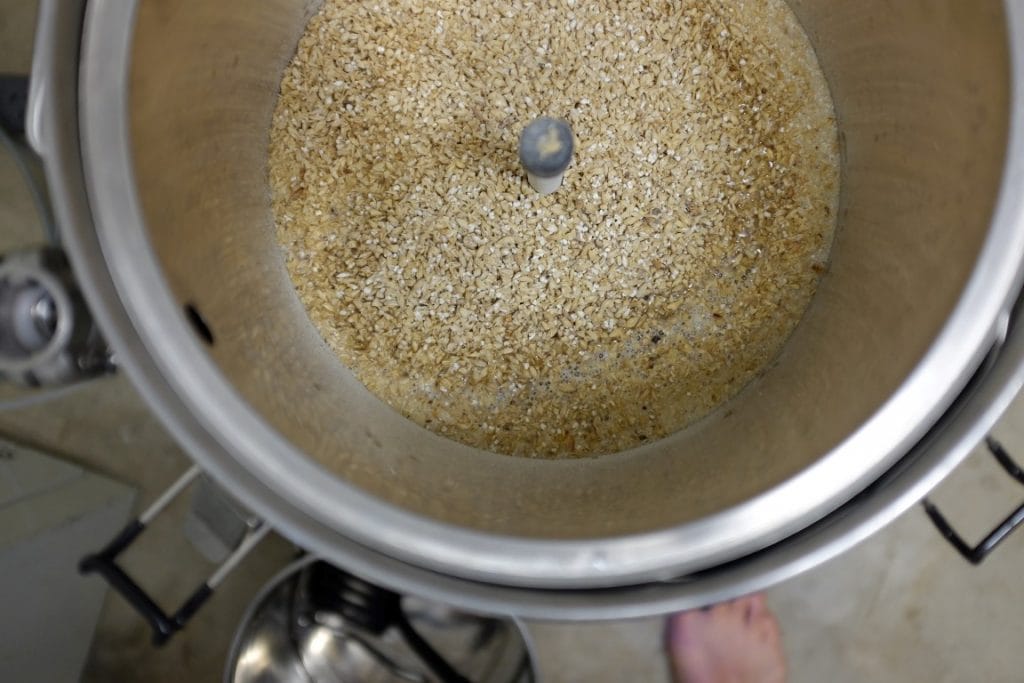
Lucky my little rubber stopper was there or all those grains would have gone straight into the pump!
Make sure to stir the mix for a couple minutes to break up any ‘doughballs’ they call them. I guess that means any areas where all the grains pieces are stuck together?
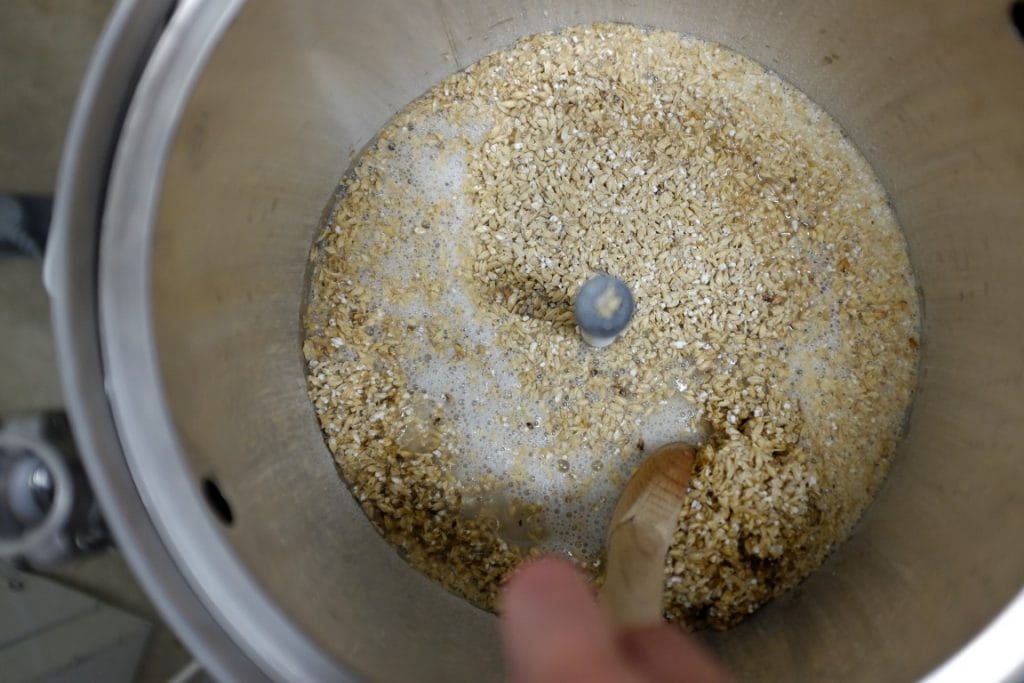
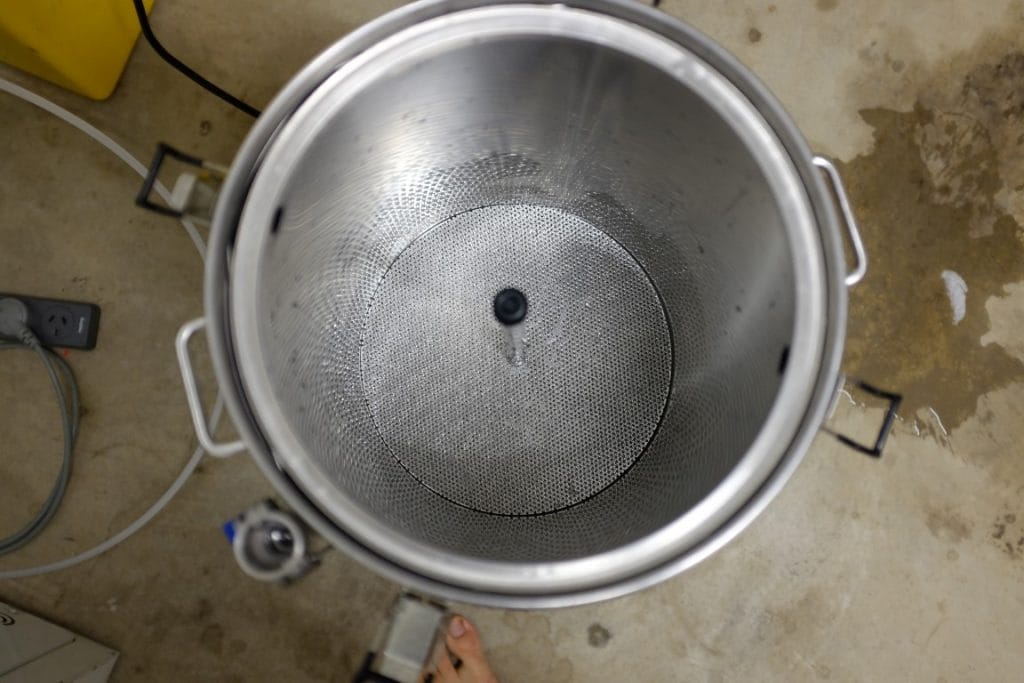
Once you have finished the stirring it’s time to remove the little rubber stopper and place on the remaining piece of mesh. This should just sit lightly on top of the grain ensuring not to compact it. Then place on a small metal section that fits over the pipe, this forms the overflow outlet that lets the mash water run back down to the pump in the event that it is not flowing through the grain fast enough. This is an extremely important feature that works to prevent any damage that might happen to the pump resulting from it operating without any liquid. Any tick to the RoboBrew guys for designing one of the best all grain brewing systems available.
Once this section is in place you can also attach the top half of the pump line and the rubber hose section that you should cut long enough so that it fits through the glass lid. Put the lid on, fit the rubber hose through the opening and switch on the pump. You’ve now started the mash!
For this brew I did a step mash (as per the instructions). It looked like this:
- Mash at 55 °C for 15 minutes
- Raise mash to 66°C and hold for 45 minutes
- Raise mash to 72°C and hold for 20 minutes
- Raise mash to 75°C and hold for 10 minutes.
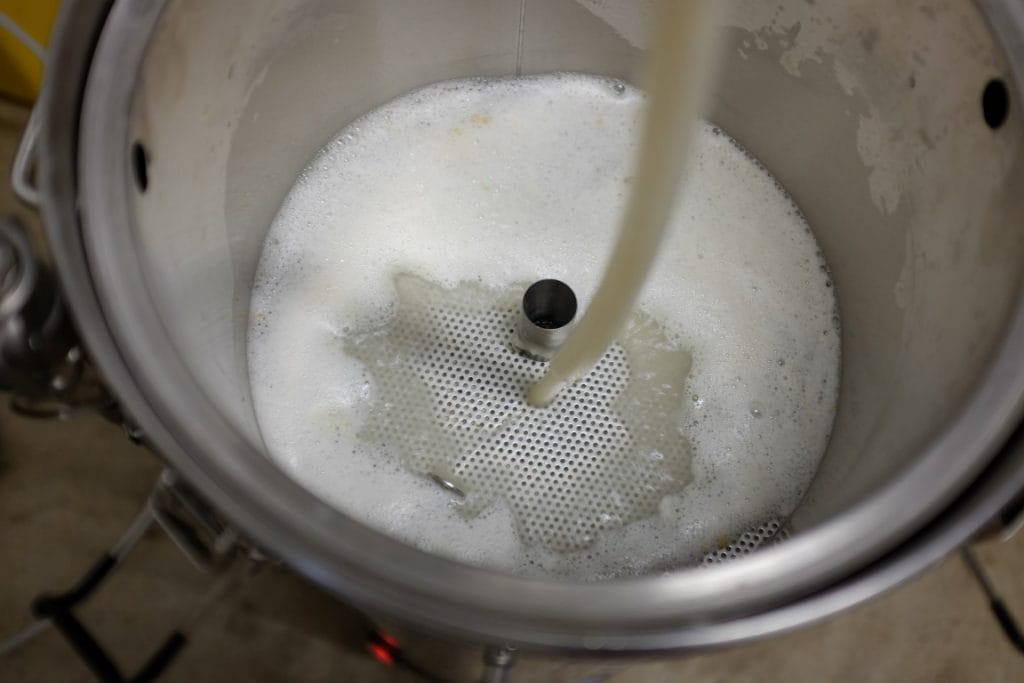
Then it’s sparge out time. For this step you really need to have an electric water urn to have water prepared at the correct temperature. I sparged out the grains with 78°C to achieve a pre-boil volume of 28L.
What does sparge mean?
Sparge means to drain the grans that have been in the mash process of any remaining sugars. You are basically rinsing them out and collecting as much of that sugary goodness as you can.
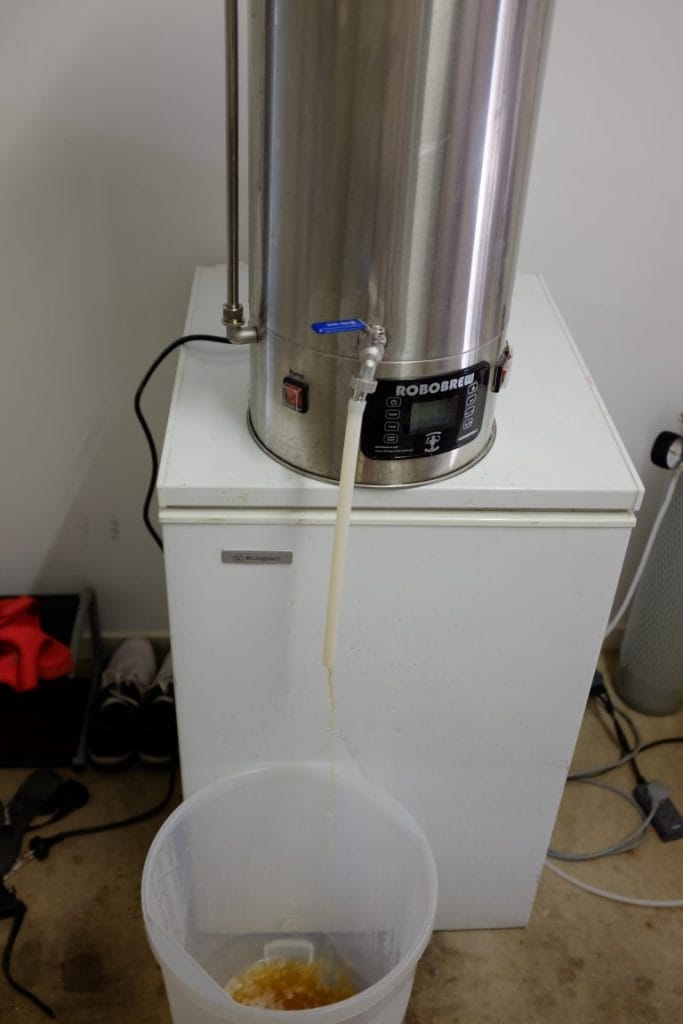
Before starting the sparge ensure you have switched off the pump and removed the upper section of the pump from the system. You will then need to add the handle to the malt pipe and lift it out of the main unit. Turn the malt pipe a quarter turn or so and its feet will sit on those four metal bars we saw at the beginning of the assembly. It should now be resting atop the main system with the wort collecting at the bottom.
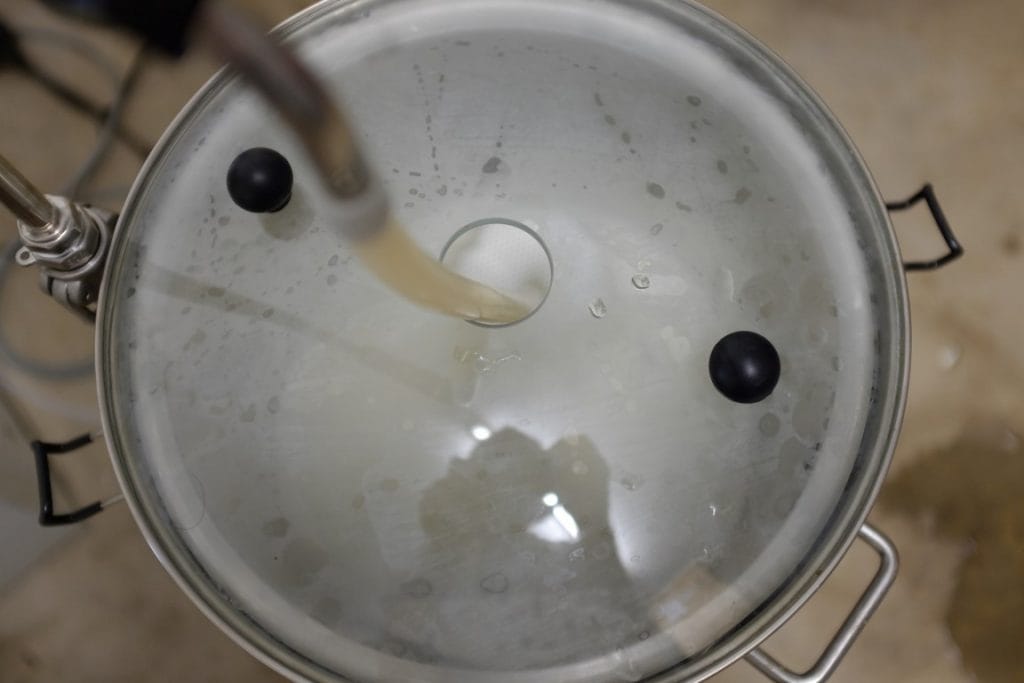
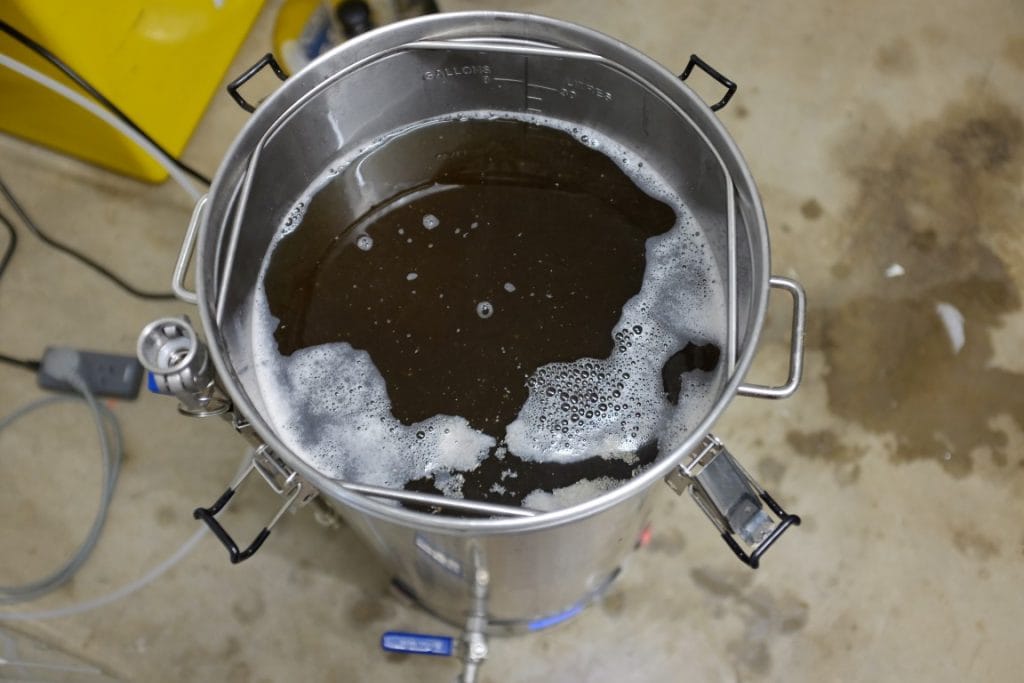
Once this is in position you can start pouring the sparge water over the grains. Don’t pour so much in that it starts to run down the overflow pipe, this will defeat the purpose of the sparge. You should be adding small increments and waiting for it to run through before adding more. Once you have reached your pre-boil volume you should have a nice golden syrupy looking liquid smiling back at you:
Don’t let it smile for too long though, because it’s time to crank that baby up to 120°C and boil for roughly an hour!

IMPORTANT: Don’t be a fool like I did and leave the lid on once it starts boiling. It will very quickly overflow and you’ll lose a lot of your hops that were added to the boil as these float about on top. The lid will help it to come up to temperature, but keep a very close eye on it so you remove it before disaster strikes!
Once your boil is done you can turn off the power, take the all grain brewing kit outside and cool the wort. You just drop the spiral looking thing into the wort, attach the hose to one end and pump water through there:
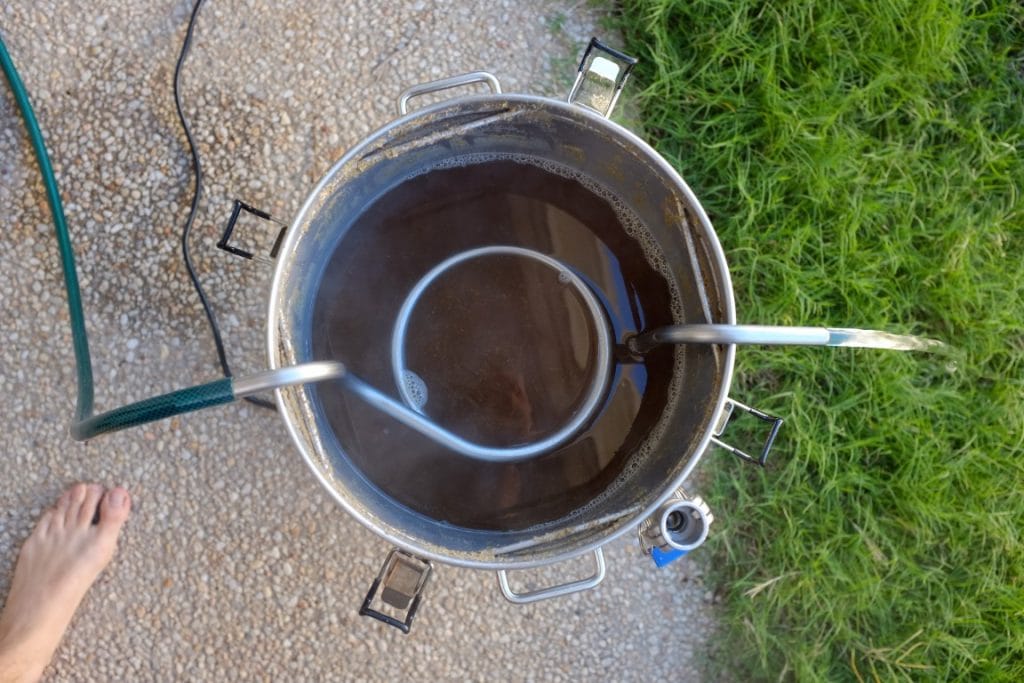
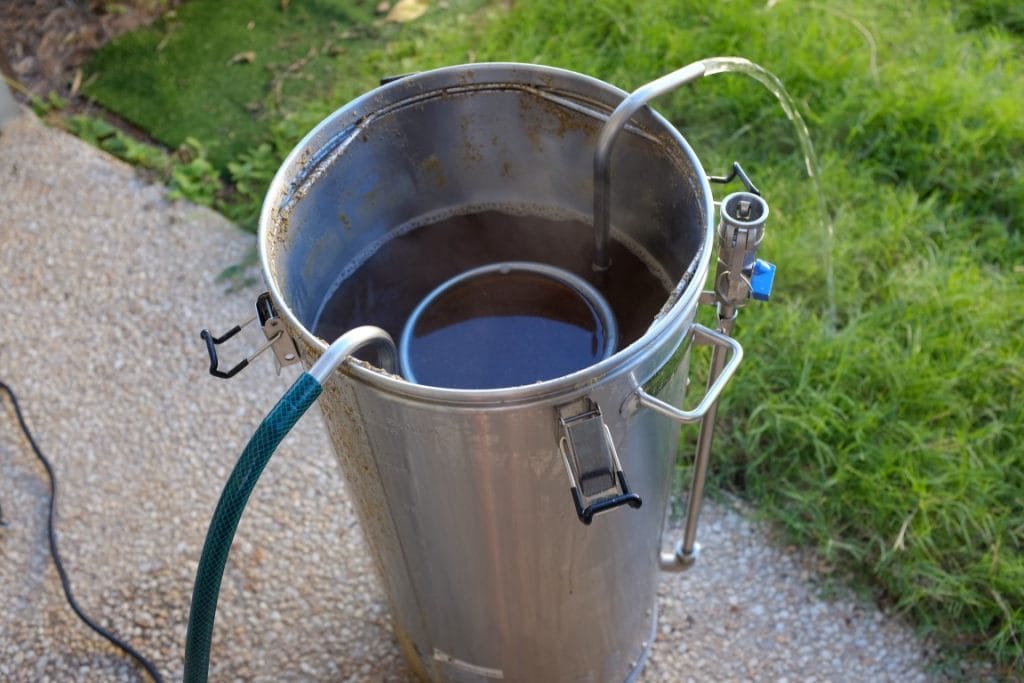
To be honest, I thought this was an incredible waste of water. I read that it helps to stir the wort while cooling, which I definitely should have done. I’d like to find another way of cooling the wort that doesn’t involve so much water. It does seem like there are a few other wort chilling techniques, it will just depend on finding one that reduces water usage.
Another option I read that helps to cool the worth is to let it slowly trickle out of the boil container into your primary fermenter. This will give the liquid more surface area exposed to the air and help it to cool.
I pitched my yeast at around 25°C and set the fermentation temperature to 17°C.
After about the third day I got a nice chunky looking Krausen forming on top. The other thing I’ll mention is that for the first time I added a whirlfloc tablet. These tablets act to bind the proteins in the brew and help them to drop out of suspension. When I checked the fermenter vessel on the second day I could see big lumps of floaties getting around. It was a curious to see, but ultimately nothing harmful.
Tomorrow will mark day seven of the brew and the addition of my dry hops. Another couple of days of brewing before a final gravity check and racking the beer to the keg.
So I hope that helps to understand how the RoboBrew V3 comes together a brew process works. I know when I first started I felt a little out of my depth and was just fumbling along putting stuff together. Funnily, I’ll admit that I thought the grain pipe or malt pipe was the overflow pipe and I actually almost got out a funnel to pour all of the grains down to the base of the system! What a foolish move that would have been.
So why do I think the Robobrew V3 is the best all grain brewing system? I think for the value it offers it just can’t be beat. There’s also the Grainfather system that looks pretty flash, but it’s for more than double the price. For someone looking to get started in the world of brewing from scratch, I think this is the best all grain brewing kit to get started with. Once the beer is ready I’ll post some pics of my savouring it.
Read Next: The Best Portable Garages for Snow Load.